In this article
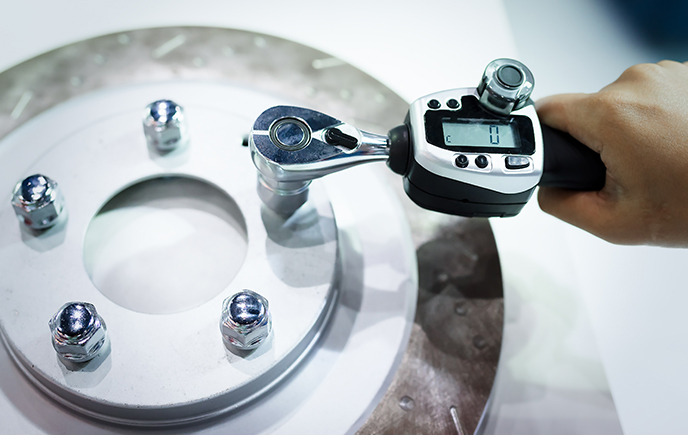
Talking Torqueing
When a gasket fails, the temptation is to replace it as quickly as possible to get your asset back up and running. But taking time and care to prepare, calculate required torque, and tighten correctly will help to prevent repeat gasket failure due to incorrect installation.
Follow this best practice and you can be sure your gaskets will provide a perfect long-term seal. Ignore it, and you can’t even be sure they will seal at all.
Once you have removed the failed gasket, your first task should be to clean and inspect the flange surfaces, fasteners, and bolts. Then clean the flange faces to remove any residue remaining from the old gasket, and the fasteners and bolts to ensure there’s no rust or dried-on lubricant. A brass wire brush is recommended, to avoid scratching the bolt threads; likewise, a brass bar filed to a chisel point is ideal for cleaning the flanges.
When the bolts and flanges are clean, inspect them carefully. Bolts should be free from chips and cracks, and when you run a nut down them it should move smoothly. Flange surfaces should show no distortion or scratches. Deep radial gouges, in particular, will affect the quality of the seal when the gasket is in place.
Damaged bolts should be replaced, and a damaged flange will require replacement of the component if it is not possible to re-machine the flange surface.
The more time you spend on this phase of gasket replacement, the more likely the new gasket is to fit with a perfect and lasting seal.
Handle with care
Before you position the new gasket, lubricate the stud bolt and the inner face of the nut which will come into contact with the flange. A graphite, copper or molybdenum sulphide grease is the most effective – with copper grease being the best choice to prevent seizing in high-temperature environments.
Now position the gasket. Whatever its size, it requires careful handling. Avoid bending or buckling the gasket to ensure you don’t break it. The largest gaskets will require two people to manoeuvre them into position: don’t try and do it alone or you are almost certain to damage the gasket.
With the gasket in place, you can begin to put the bolts into position. Which is when we need to talk about torque.
Record your torque
If the engineer who previously installed or replaced the gasket did their job properly, you will have a record of the torque applied to tighten it. Knowing what torque has been applied not only makes replacement quicker, but also helps in identifying causes of failure in the future.
However, if there is no record of the torque, you will need to calculate it. And once you have, you’ll of course follow Best Practice and record the figure, ready for next time.
Your target torque setting will come from a calculation based on the gasket area, the pressure on the seal and the stresses on the bolts. Torque should be sufficient to compress the gasket to create a seal, which will partly depend on the gasket material. You or any other competent engineer will know how to work this out.
With the calculation made and the resulting figure to hand, you will need a calibrated torque wrench to tighten the bolts. Ensure that the wrench is correctly calibrated and certified as such. Calibration is not a one-off process, and any torque wrench will need recalibrating at minimum in line with the default standard of every 5,000 cycles or 12 months.
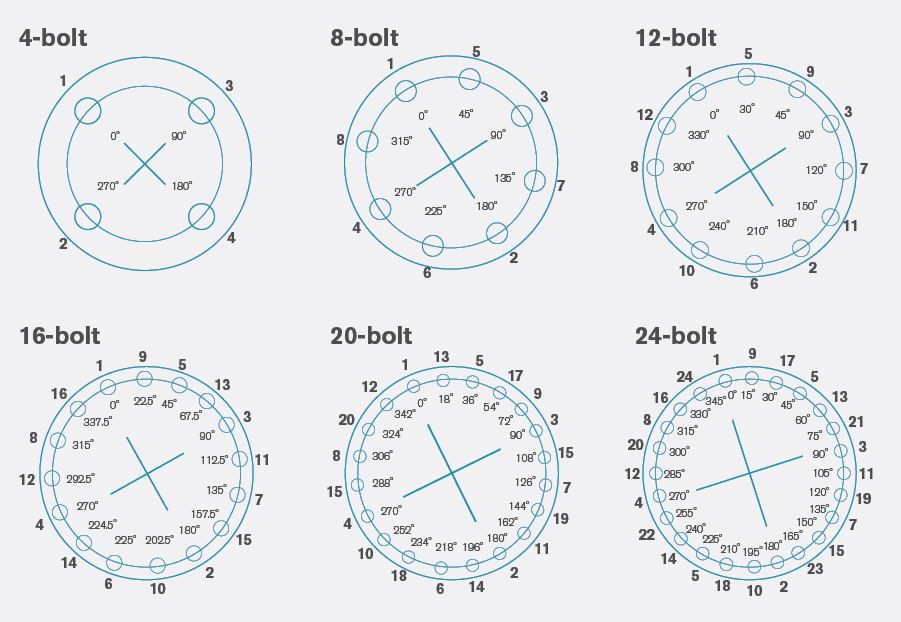
It’s critical to tighten the bolts in the correct sequence and in stages, to prevent pinching or splitting the gasket. See the box-out for details.
Now you’ve fully tightened the bolts with the gasket in place, the seal is complete. And if you have followed the Best Practice outlined above, it should remain complete until your next planned shutdown.
How to torque nuts
Following the appropriate pattern for the number of bolts (see diagram) tighten the nuts in steps.
First tighten nuts loosely by hand, then torque each nut to a maximum of 30% of full torque, followed by 60% and then to full torque.
Lastly, make a final pass at full torque, tightening (if required) adjacent bolts in a clockwise direction.
For more information on Gasket Solutions and to get in touch with one of our ERIKS Specialists, please contact your local ERIKS Service Centre, who will be happy to discuss your options.
#ERIKS #LetsMakeIndustryWorkBetter #Gasket #Torque
Author